
Card holder lesson 1
The following are the step-by-step instructions for completing your card holder! Enjoy!
If you haven’t already, feel free to purchase our sewing kit by contacting us!
Theading the needle
First, thread the needle.
Next, at about 2-3cm from the end of the thread, place the needle point at the center of the flat thread.
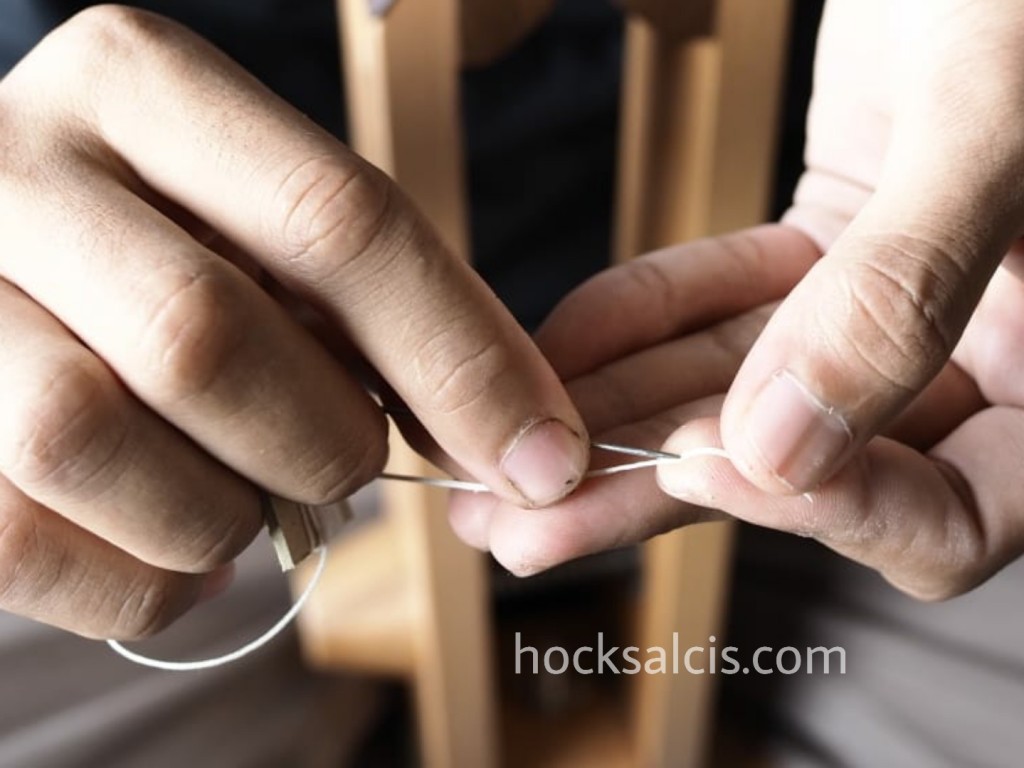
Puncture the thread and push the needle through the thread completely.

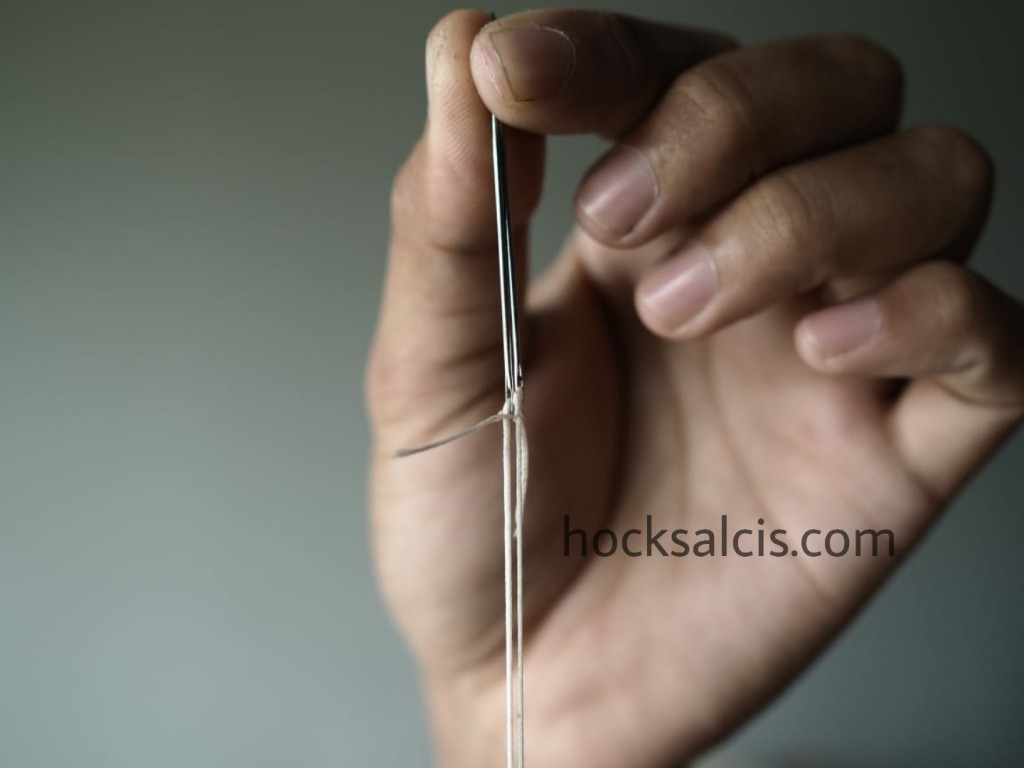
Once the needle clears the thread, pull the live end of the thread in the opposite direction. The loop will become smaller and eventually tighten.

Repeat with the second needle on the other end of the same thread.

from parent company: Broadway Leather Co.
Corporate logo & wedding favours embossment

Bulk purchase these DIY kits for your corporate events or wedding banquet and have your logo embossed on them!
Get off on the right foot
This is the start point for right handers. The start point for left handers is on the other side.

For left handers, the front leather panel should be facing your left hand, not your right hand. The start point should be as per the preceding point just above.
Push needle through the first hole completely and pull the thread through.

Once thread is pulled taut, ensure that both needles are level.
Ensure that the thread remains in this position at the first hole as sewing continues. Otherwise, we risk having long-short legs at the end.

blake
good year welt
leather soles
Aquila hand stitched leather shoes


Let’s begin stitching!
For right handers, push the needle on the right hand through the second hole partially, from your right to the left.
For left handers, it should be the needle on your left hand, from your left to the right.

Stay in position with the needle partially through the second hole, and with your right thumb and index finger still on the eye of the needle.
Now, with the needle in your left hand pointing forward, take position by placing the left needle under the right needle. It will form a cross.

At the same time, grip the needle that is already partially in the second hole with the left hand and pull the thread through only for a short distance. Maintain the cross.

Now that the “right hand needle” is through, the left hand is free to roam, with both needles still in a cross formation.
Next, point the original “left hand needle” towards the second hole on the other side. Maintain the cross.

Still with the “left hand needle” pointed at the second hole, rotate your left hand so that the “right hand needle” is pointed backwards towards you. (See photos above and below this paragraph for clarification.)
The “right hand needle” should not be pointed forward. Maintain the cross.

Before pushing the “left hand needle” through to the right side completely, ensure that you did not puncture the thread that is already in the second hole.
The photo below is a holding technique for the right hand. Every pre punched stitch hole is a long diagonal slit.
With your right hand, pull the thread forward away from you. It will force the thread to the front of the long slit, leaving a gap in the back of the slit. That tiny gap allows us to avoid puncturing the thread with the “left hand needle”.

Pull the thread on both sides with equal tension till the slack disappears, and there we have our first stitch!

Move on to the next holes.

And the next till you reach the end!

Concluding the project
Now that we have reached the final stitch hole, we need to back stitch in order that the stitches at the tail end are permanently kept in place and will not come loose.
With a little more force than before, push the right hand needle completely through the previous stitch hole.

For backstitching, instead of tightening the threads on both sides of the leather concurrently, we complete the right side first, then we move on to the left side.
The following photo shows the right needle and its accompanying thread fully pulled across to the left side. That is half a back stitch.
We complete the second half of the back stitch by pushing the left hand needle over to the right side.

One full stitch consists of one right needle action and one left needle action. We intend for this absolute last stitch to be a half stitch, not one full stitch.
This will place both excess thread ends on the back panel of your card holder keeping the front panel clean and beautiful.

The excess thread on both ends are now on the back panel of your card holder. Snip them away.
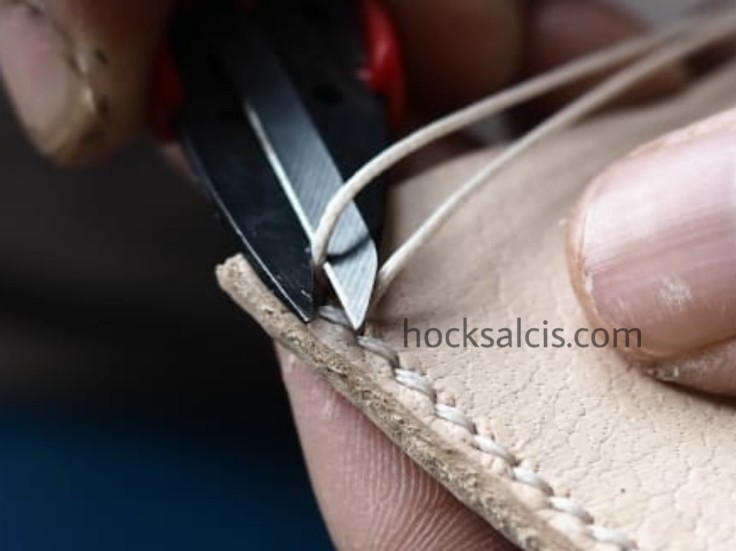
Burn the ends.

Within a fraction of a second of burning the thread, the burnt end is melted polyester. Quickly press the melted end onto the leather. This is so that when it cools, it hardens over the stitch holes preventing the thread from sliding backwards and unraveling.
But to the unaccustomed, it might feel like your finger is burnt! You might like to keep a hammer close to you to do that job instead!

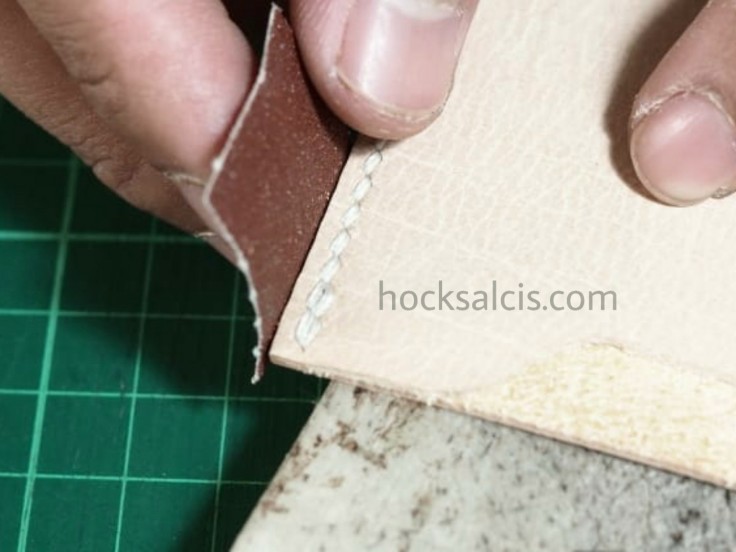
Trim off the 90 degrees corner of all four corners of your freshly hand stitched card holder.

Tada! But with the four pointed corners trimmed off of course. Slightly rounded corners make all the difference.

Onwards to lesson 2
Lesson 1 for our Hocks – Alcis basic sewing kit ends here. As fuss free as it is, a pair of needles and a spool of thread were all that were required for our customers to hand make for themselves a card holder ready for use!
Lesson 2 teaches you how to burnish the raw leather edge and requires four additional tools which you can purchase from us as an add-on to the basic kit.
Swipe left and right


Leave a comment